Setting up and running an event on Norby is simple and easy. Whether its virtual or IRL, we've got everything you need to take your event to the next level!
Feature Update: You can now utilize Norby's AI capabilities when setting up a new event. Simply answer the prompted questions after creating a new event. When you are finished with the question flow you'll land in the Design section of Events.
How to Create an Event
- From the left-hand menu, select Events.
- Next, select the +New option in the right-hand corner.
- You will then be redirected to the Events builder page which includes 6 steps.
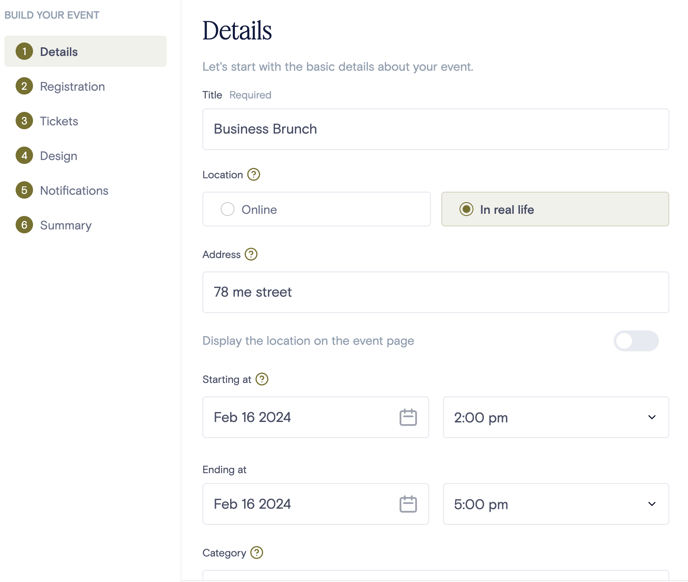
Section 1: Details
This section is where you will build out what, where, and when aspects of your event.
-
- Title = what is the name of the event
- Location = where the event is taking place
- Online = enter in an online link for your event in the
- In real life = the physical location where your event will be held
- Starting At & Ending At
- Starting At = the time that your event will begin
- Ending At = the time that your event will end
- More Settings
- Category = type of event (this will default to Other)
Once the above-mentioned information is filled in your events page will look like this:
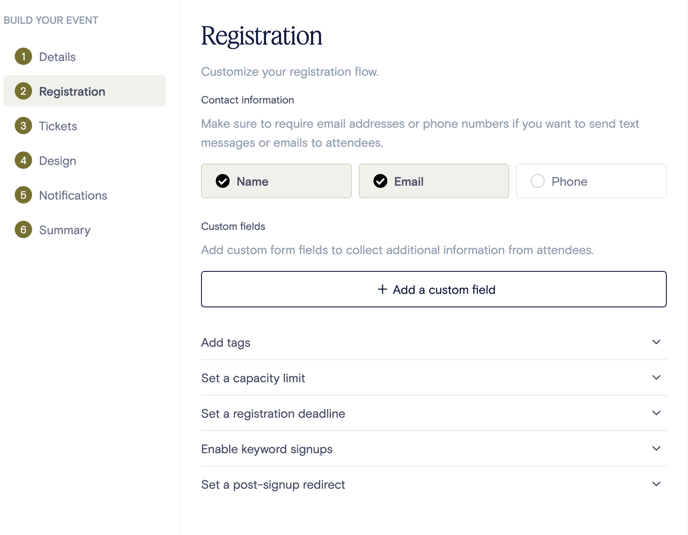
Section 2: Registration
This section is where you will choose what information you want to collect from registrants.
-
- Contact Information: You can require one, two, or all three of the following options on a registration:
Name, Email, and/or Phone.
-
- Custom Form Fields: Collect additional information from event registrants.
- This enables you to ask a variety of questions that can later be used to segment your event's attendees to give them a personalized follow-up.
- Custom field types include:
- Text - provides a text box where users can type in a response
- Select - displays a dropdown of options to choose from
- Checkbox - displays a list of options that can be mult-selected by checking a box
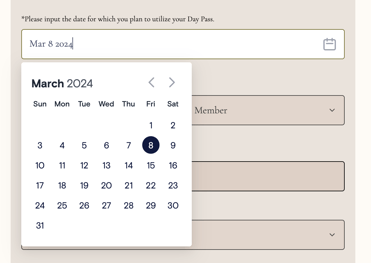
- Date - displays a calendar in which people can pick a date.
- Note: This is only available in signup forms, not events.
- Note: This is only available in signup forms, not events.
- Custom Form Fields: Collect additional information from event registrants.
-
-
- You can also rearrange the order of your custom fields with our drag-and-drop tool.
- Tags: Add a tag to automatically label contacts when they register for an event. This makes it easy to send targeted messages later. For instance, a musician can use tags like city (e.g., Chicago) and tour name for precise communication with different audiences.
- For detailed guidance on audience segmentation using tags, refer to this help article.
- Additionally, learn how to send targeted messages by using filters for tags in filter groups here.
-
-
- Capacity Limit: Set the maximum number of attendees allowed for your event.
-
- Registration Deadline: Specify a date and time to close event registration
-
- Keyword Signups: Allow your audience to register by texting your Norby phone number. If only a phone number is needed, sign-up is instant. If additional information is required, a registration link will be sent via text.
- If you're on the Growth, Pro, or Business plan, you can claim your Norby phone number to start using this feature. Learn more here.
- Post-signup Redirect: Add a URL to direct users to a specific webpage after completing the sign-up process. This can be a confirmation page, thank you page, or any relevant page related to the signup process.
- Keyword Signups: Allow your audience to register by texting your Norby phone number. If only a phone number is needed, sign-up is instant. If additional information is required, a registration link will be sent via text.
Section 3: Tickets
This section is where you will configure settings for ticketed events f you want to charge attendees for access to your events. Simply toggle on the Ticketing or Donations button.
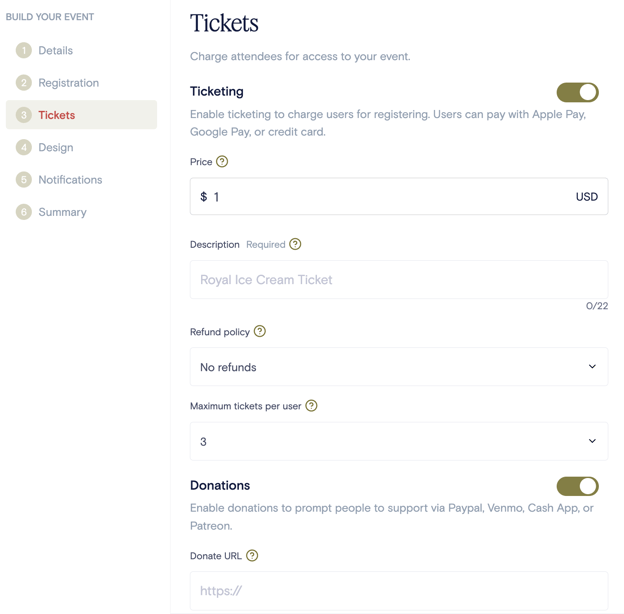
- Ticketing - You can charge for access with Norby's ticketing. To set this up, you'll need to link your Stripe and Norby accounts. Here are the instructions.
- Price: Set the ticket price. Tickets can not exceed $5,000.
- Description: The ticket description is essential for purchases as it appears on the customer's bank statement. Keep it brief, within 22 characters, and exclude emojis, slashes, or dashes.
-
- Refund policy: Choose whether to allow users to request refunds. Refund requests will require your approval.
- Maximum tickets per user: Users can buy multiple tickets based on your specifications. Set the limit for the number of tickets each user can purchase.
- Promo Codes: Generate unique promo codes with percentage discounts for your ticketed events. Share these codes to offer exclusive access and special pricing to your community members. Things to keep in mind:
- Promo codes are specific to each event.
- You can apply a discount between 1-99% off.
- The title of the promo code must consist of 1 to 22 alphanumeric characters, which include letters from A to Z (both uppercase and lowercase) and numbers from 0 to 9. Emojis and special symbols are not allowed.
- When an event is duplicated, the promo code settings are not carried over. You'll need to re-add your promo codes.
- Donations - Set up donations by adding the URL to an external donations page. Check out our help guide for details, click here.
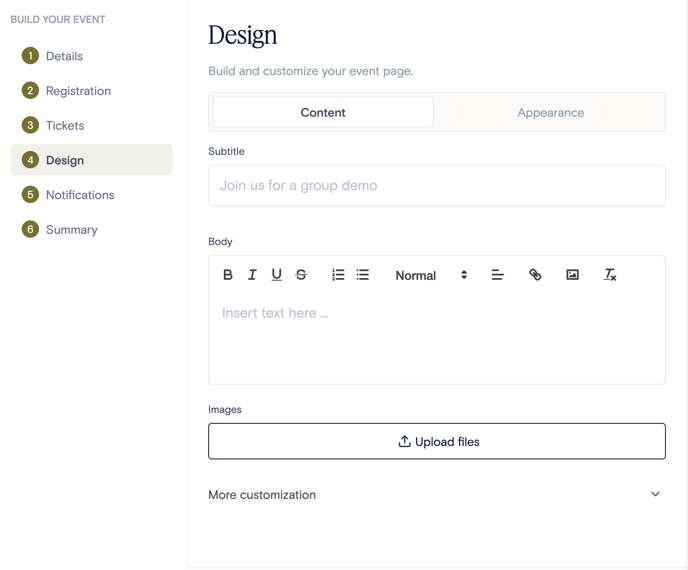
Section 4: Design
This section is where you will build out the look and feel of your event pages' design.
-
- Content - Here you can choose your event's subtitle, create a detailed description of your event via the body section, and image if you'd like to style your event.
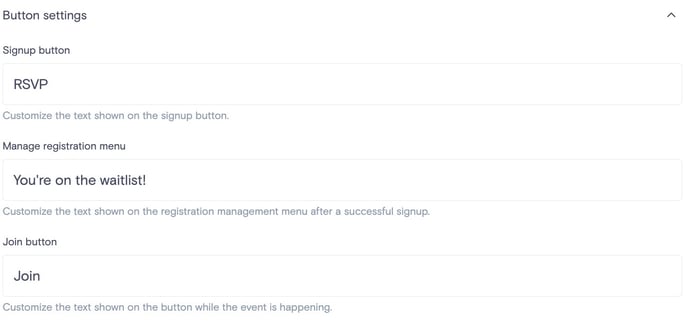
- Button settings - In this dropdown menu, you can customize the text on various buttons to confirm things like registration and (if virtual) joining the event.
- Appearance - Select a prebuilt Norby theme or customize the event page based on your individual choices.
- A quick note that appearance settings will default to whatever you have chosen for specific Norby account. Learn more about customizing your account's Global Appearance settings here.
- Select Alternate Page Layouts - Choose between several layout options for your event page when building an event or sign up.

Section 5: Notifications
You can set up event notifications and reminders on the following cadences:
-
- Confirmation - When someone registers
- Reminder - Before your event starts
- Start - When your event starts
To send more reminders via email or SMS, use our Sends feature. Simply create a new Email or SMS message from the Sends dashboard or the Event Analytics dashboard of a specific event. Learn more about sending event updates here.
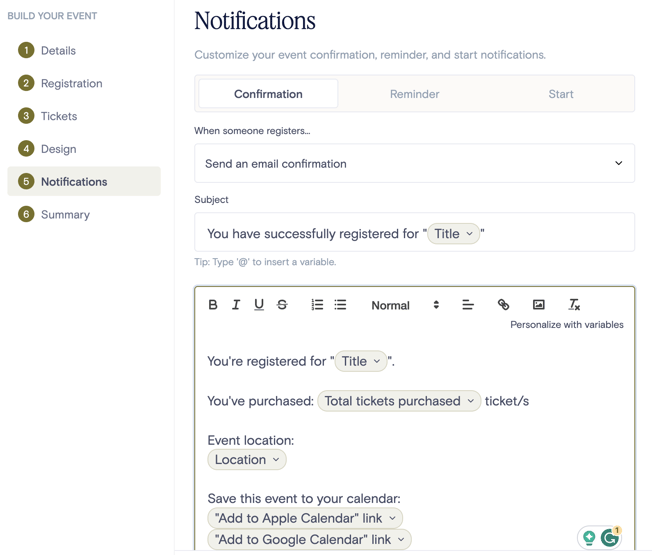
Please note, you have the option to include the number of tickets a customer has purchased in their confirmation, reminder, or initial communications through the use of variables. The designated variable for this purpose is "Total Tickets Purchased," which will dynamically display the quantity of tickets acquired by the customer. You can learn more about using variables in this help article.
To enhance the event registration experience, you can choose to include Google Calendar details in your confirmation emails with the click of a button. Attendees can seamlessly join the event directly from Gmail without any redirects. This feature is automatically enabled, but if you prefer not to include a calendar invite, you can easily toggle it off.
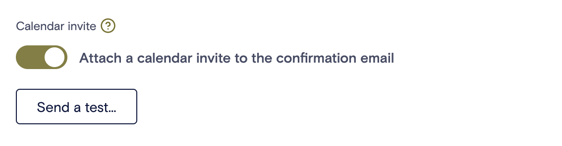
You can also send out test messages for each notification type.
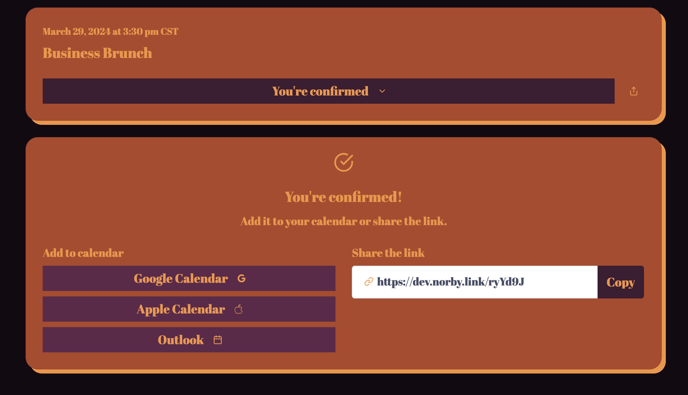
Additional 'Add to Calendar' Options
After signing up, event registrants can easily add events to their calendars using Google, Apple, or Outlook. The calendar invite will include the registrant’s email, making it a smooth experience in their calendar app.
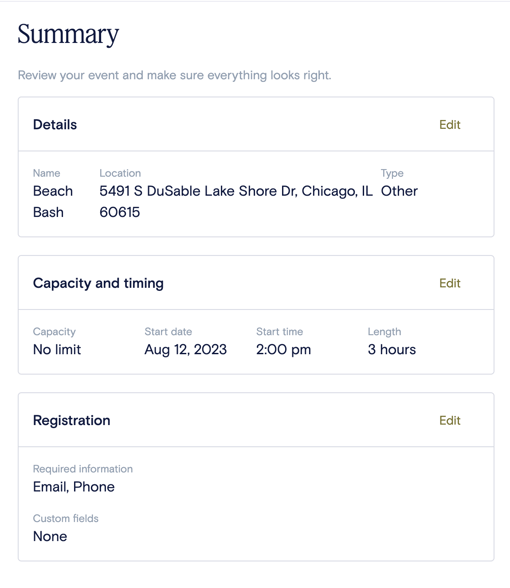
Section 6: Summary
This is simply where you will review everything that you've built out so far to see if you'd like to make any changes before publishing the page and having it go live. You can simply hit the edit button if you would like to make any changes to any of the sections shown below:
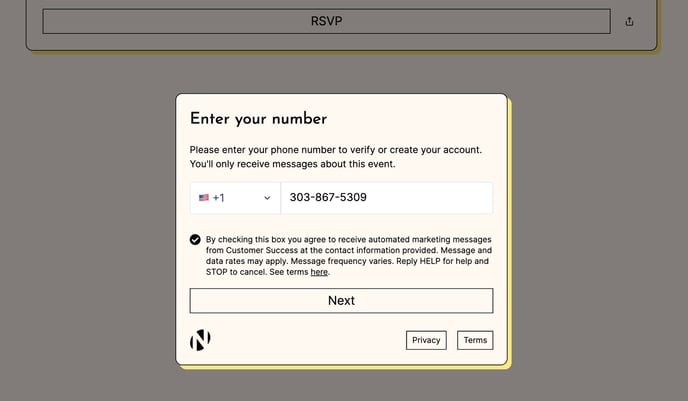
FYI
When a member of your audience registers for an event, you will be able to send their notifications and reminders about the upcoming event they've signed up to attend. Additionally, you will be able to message them 1:1 using the Norby inbox. However, the registrant will need to sign up for automated marketing messages (as shown below) in order to receive mass sms or email messages sent using Norby's Sends feature.
Saving & Publishing Your Event
- When you create an Event, Signup Form, Page, or Send, any changes you make will automatically be saved as a draft. Additionally, if you explicitly click on "Save" in the upper right-hand corner, your draft will be saved and you can continue working on it without being redirected to the dashboard. This feature is designed to improve your productivity and convenience as you create and refine your content within our platform.
- Please note that once you have published or scheduled your content, our system will no longer be able to automatically save your progress. This is because the event, sign-up, page, or send is already live. Therefore, you will have to explicitly publish any new changes you make from that point onwards.
Further Reading
- To review your event's performance be sure to dive into the Analytics for the event. You can learn more by clicking here.