You can easily execute a targemented SMS campaign using sends in Norby. Our tools make it easy to connect with your audience in a very personalized & authentic manner.
Please note that recipients must be subscribed to receive your marketing SMS messages. You can review a list of contacts who have opted into receiving SMS marketing messages by going to your contacts list in the Contacts section of your Norby account. This number may be different from your list of total contacts.
How to Create an SMS Send
- From the left-hand navigation menu, select Sends.
- Next, select the +New option in the right-hand corner.
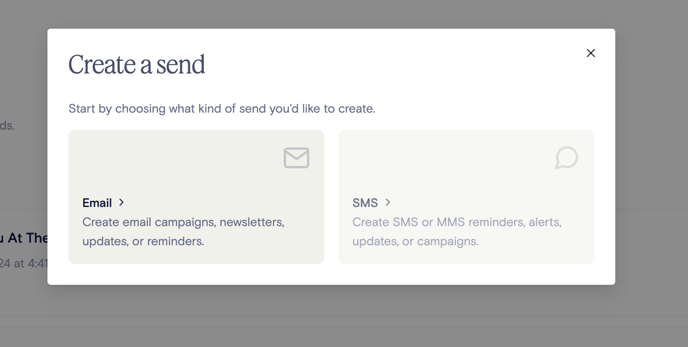
- A pop-up will appear and prompt you to choose Email or SMS. Choose SMS.
- Now, you'll be able to compose your SMS message.
- If you want to keep things simple, you'll just want to type in your message like this:
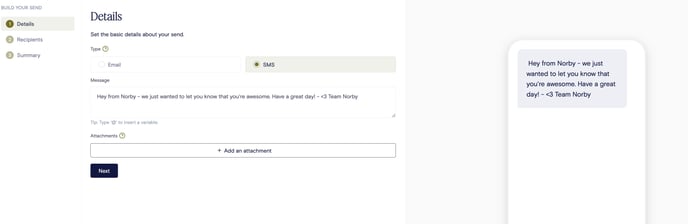
The attachment option allows you to add a photo or video to your message. Do keep in mind though that a message with a photo or video will be charged as an MMS message. Please contact our support team if you have any questions!
- If you would like to use contact variables in your SMS message just hit the @ button:
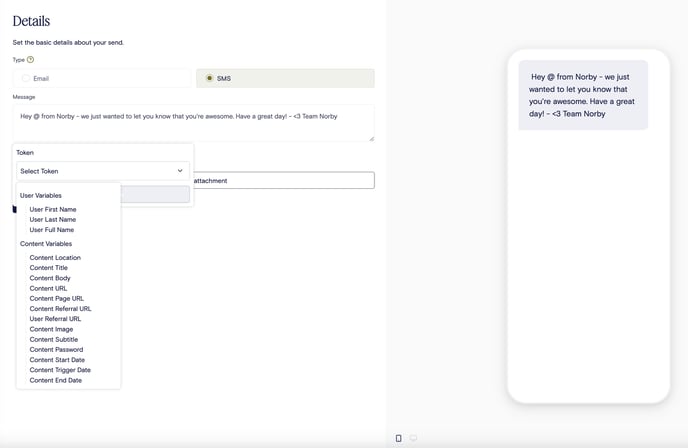
- In this example, we chose user first name to help us personalize the message.
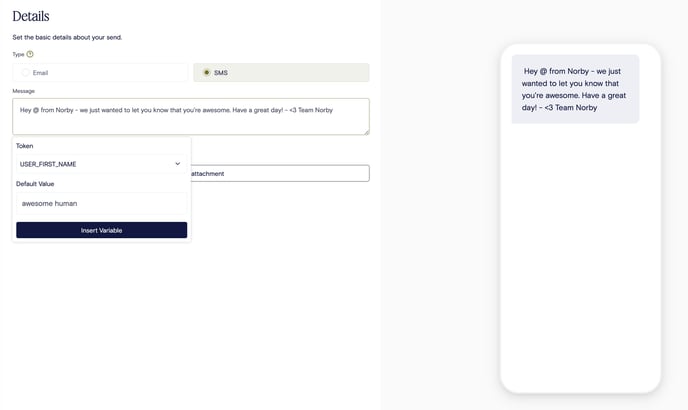
- If we don't have a recipient's first name, we can choose a default value.
- For example, let's use awesome human because we all are (yes you are).
- For example, let's use awesome human because we all are (yes you are).
- Ok, we're now done composing our message. Let's hit Next and choose the recipients.
How to Choose Recipients
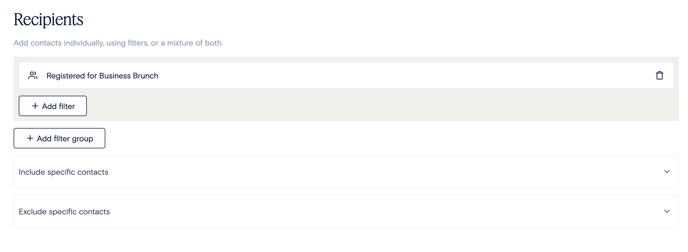
The send will default to including all SMS contacts as the recipients.
- filtering for specific tags, events, signup forms, and saved contact lists
-
Check out this help article to learn how to use Norby's filters and filter groups for better-targeted lists.
-
- adding contacts individually
- or excluding contacts individually
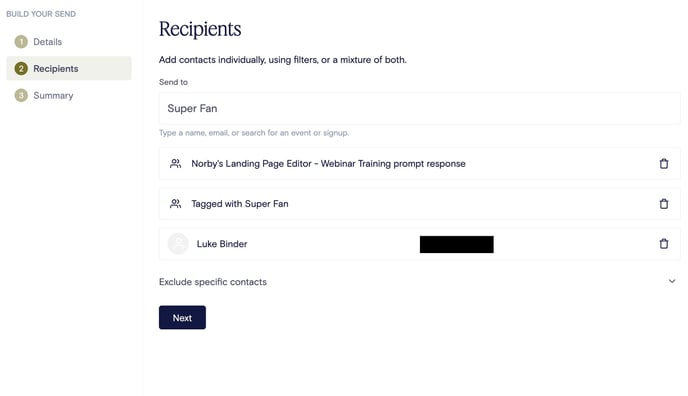
Here is an example of how you can utilize the different options on a past event:

In the example below we've selected a specific group from a past event, contacts who have the "Super Fan" tag, and we chose an individual recipient named Luke. Now, select Next.
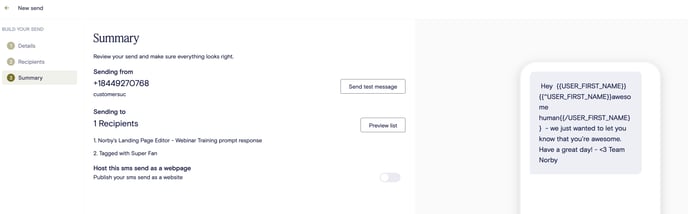
Summary Page aka "The Final Steps"
Before sending the email, you have a few different options to help with quality assurance:
- Send a test message (you can select up to 10 email addresses to send a test version)
- Preview a list of recipients (a quick note, that the preview list will max out at 30)
Finally via the options available in the right-hand corner, you can do one of the following:

- Save as draft (this will go to your Drafts folder in the Sends menu)
- When you create an Event, Signup Form, Page, or Send, any changes you make will automatically be saved as a draft. Additionally, if you explicitly click on "Save" in the upper right-hand corner, your draft will be saved and you can continue working on it without being redirected to the dashboard. This feature is designed to improve your productivity and convenience as you create and refine your content within our platform.
- Please note that once you have published or scheduled your content, our system will no longer be able to automatically save your progress. This is because the event, sign-up, page, or send is already live. Therefore, you will have to explicitly publish any new changes you make from that point onwards.
- Schedule the send (you'll choose a time + date to send the sms message)
- Send - and, just so you know, that will send the sms message right now.
Recommended Reading