You can use Zapier to integrate Norby with the rest of your marketing stack.
You can find more information about Zapier automations here and set up an account if you do not have one. Here are just a few ways you can use Zapier to create custom workflows with Norby:
- Create new contacts in Mailchimp, Flowdesk, Hubspot, and more from Norby signups
- Add Norby Events to Mailchimp and Event Registrations to Google Sheets rows
- Set Slack notifications for new Norby contacts
You can explore and try popular ways to use Norby workflows here.
Exclusive Automation for Business Plan Users
As a bonus feature, Norby For Business pricing plan users can Zap their contacts into Norby and from Norby into other applications. For instance, if you wish to transfer information from Google Docs to Norby, you can accomplish that by using the "Add to Norby Contact" Action in Zapier.
- Please note that this is an action and not a trigger.
- Also, ensure that you are using the latest version of the Norby Zapier Integration for optimal performance.
-3.png?width=688&height=277&name=image%20(2)-3.png)
Linking your Norby account to Zapier
Make sure you've created a Zapier account and are logged in. Navigate to the Integrations page on your Norby by clicking the profile icon at the top right of the page.

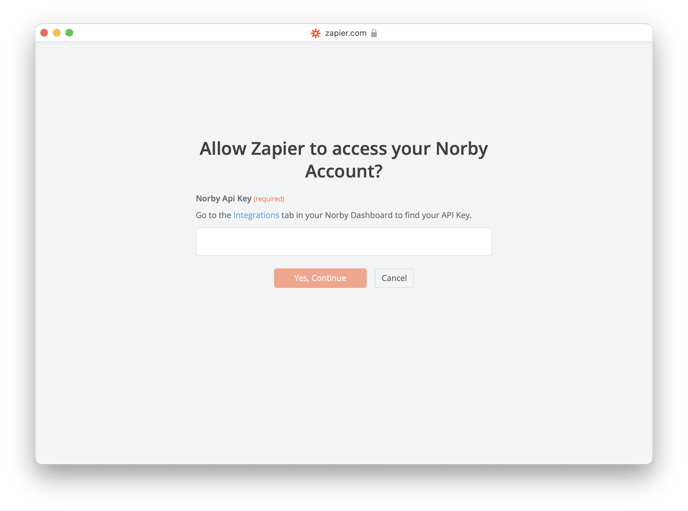
Clicking Connect will take you to your Zapier page, and will invite you to authenticate your Zaps with your API key. Add the API key from your Norby when prompted in Zapier. That's it!
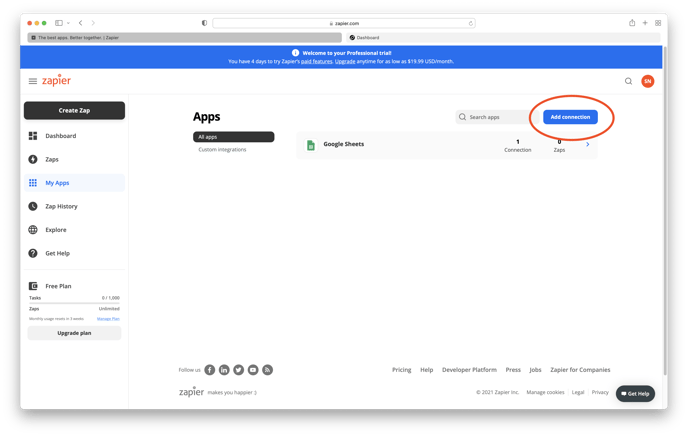
You can also connect Norby via the Zapier Dashboard by navigating to My Apps in the left navigation menu.

From there, you can click Add Connection to search for and select Norby. Once you've selected Norby as the app to connect, a prompt should appear for your API Key.

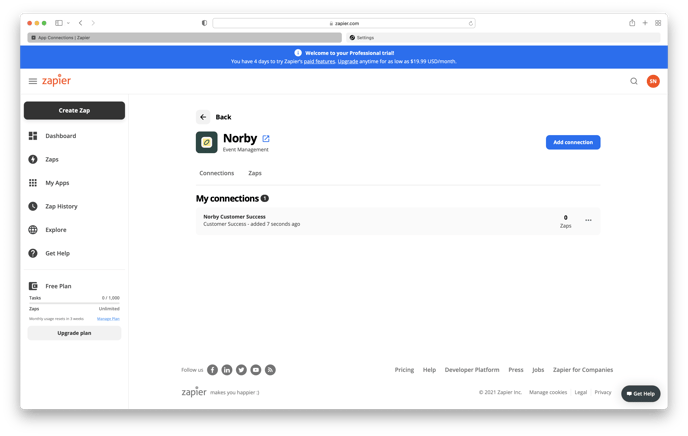
Once you've input your API key, your browser should refresh to show your Norby account listed on the My Apps page. You're all set!

