Learn how to display a list of upcoming or past events on your Norby landing page.
A List of Events block is a content block that allows you to group and display a series of events on your Norby landing page. You can use Tags to group events together. For example, if you want to create a list of events that only shows upcoming workshops, then you can add the tag “workshop” to events that are workshops. Then follow these instructions to display those events as a group:
- From the Dashboard, navigate to Pages in the left hand menu. Click on the page you want to display the List of Events on.
- In the Landing Page Editor, navigate to the left hand side for the block editor.
- Click the “+” to add a new block from the pop-up menu.
- From the Content section, select List of Event.
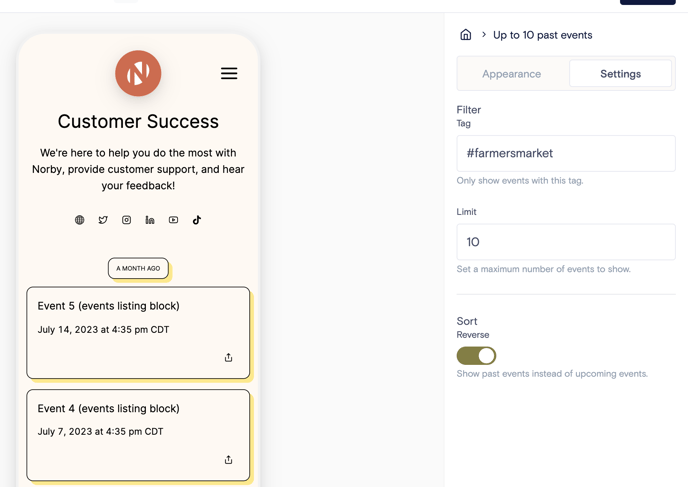
- From the new List of Events block, navigate to the right side of the screen to edit the Settings & Appearance of the block.
- Within Settings, type in the tag you want to filter. In this example, type in “workshop” in the Tag field.
- Then in the Limit field, set a maximum number of events to show.
- In the Sort section, you can toggle on the Reverse order of events such that the list shows past events instead of upcoming events.
- Within Appearance, customize the look and feel of your List of Events Block by changing the font style, card colors and border sizes, and button settings.
- For Buttons, choose between using a Primary or Secondary button style.
- Primary Buttons are used for CTAs like signup, register, and purchase buttons. Secondary buttons are used for other actions like sharing and adding to calendar.
- Review your edits in the preview. Publish the landing page to see your changes to List of Events block settings take effect.